Photo dimensions · PDF export · Printing
Print the size
you chose.
A photo can have plenty of pixels and still print at the wrong size. Start with physical dimensions, then keep the printer from scaling the finished PDF.
View Exact Print SheetPaid app for iPhone, iPad, and Mac
1. Choose dimensions, not just pixels.
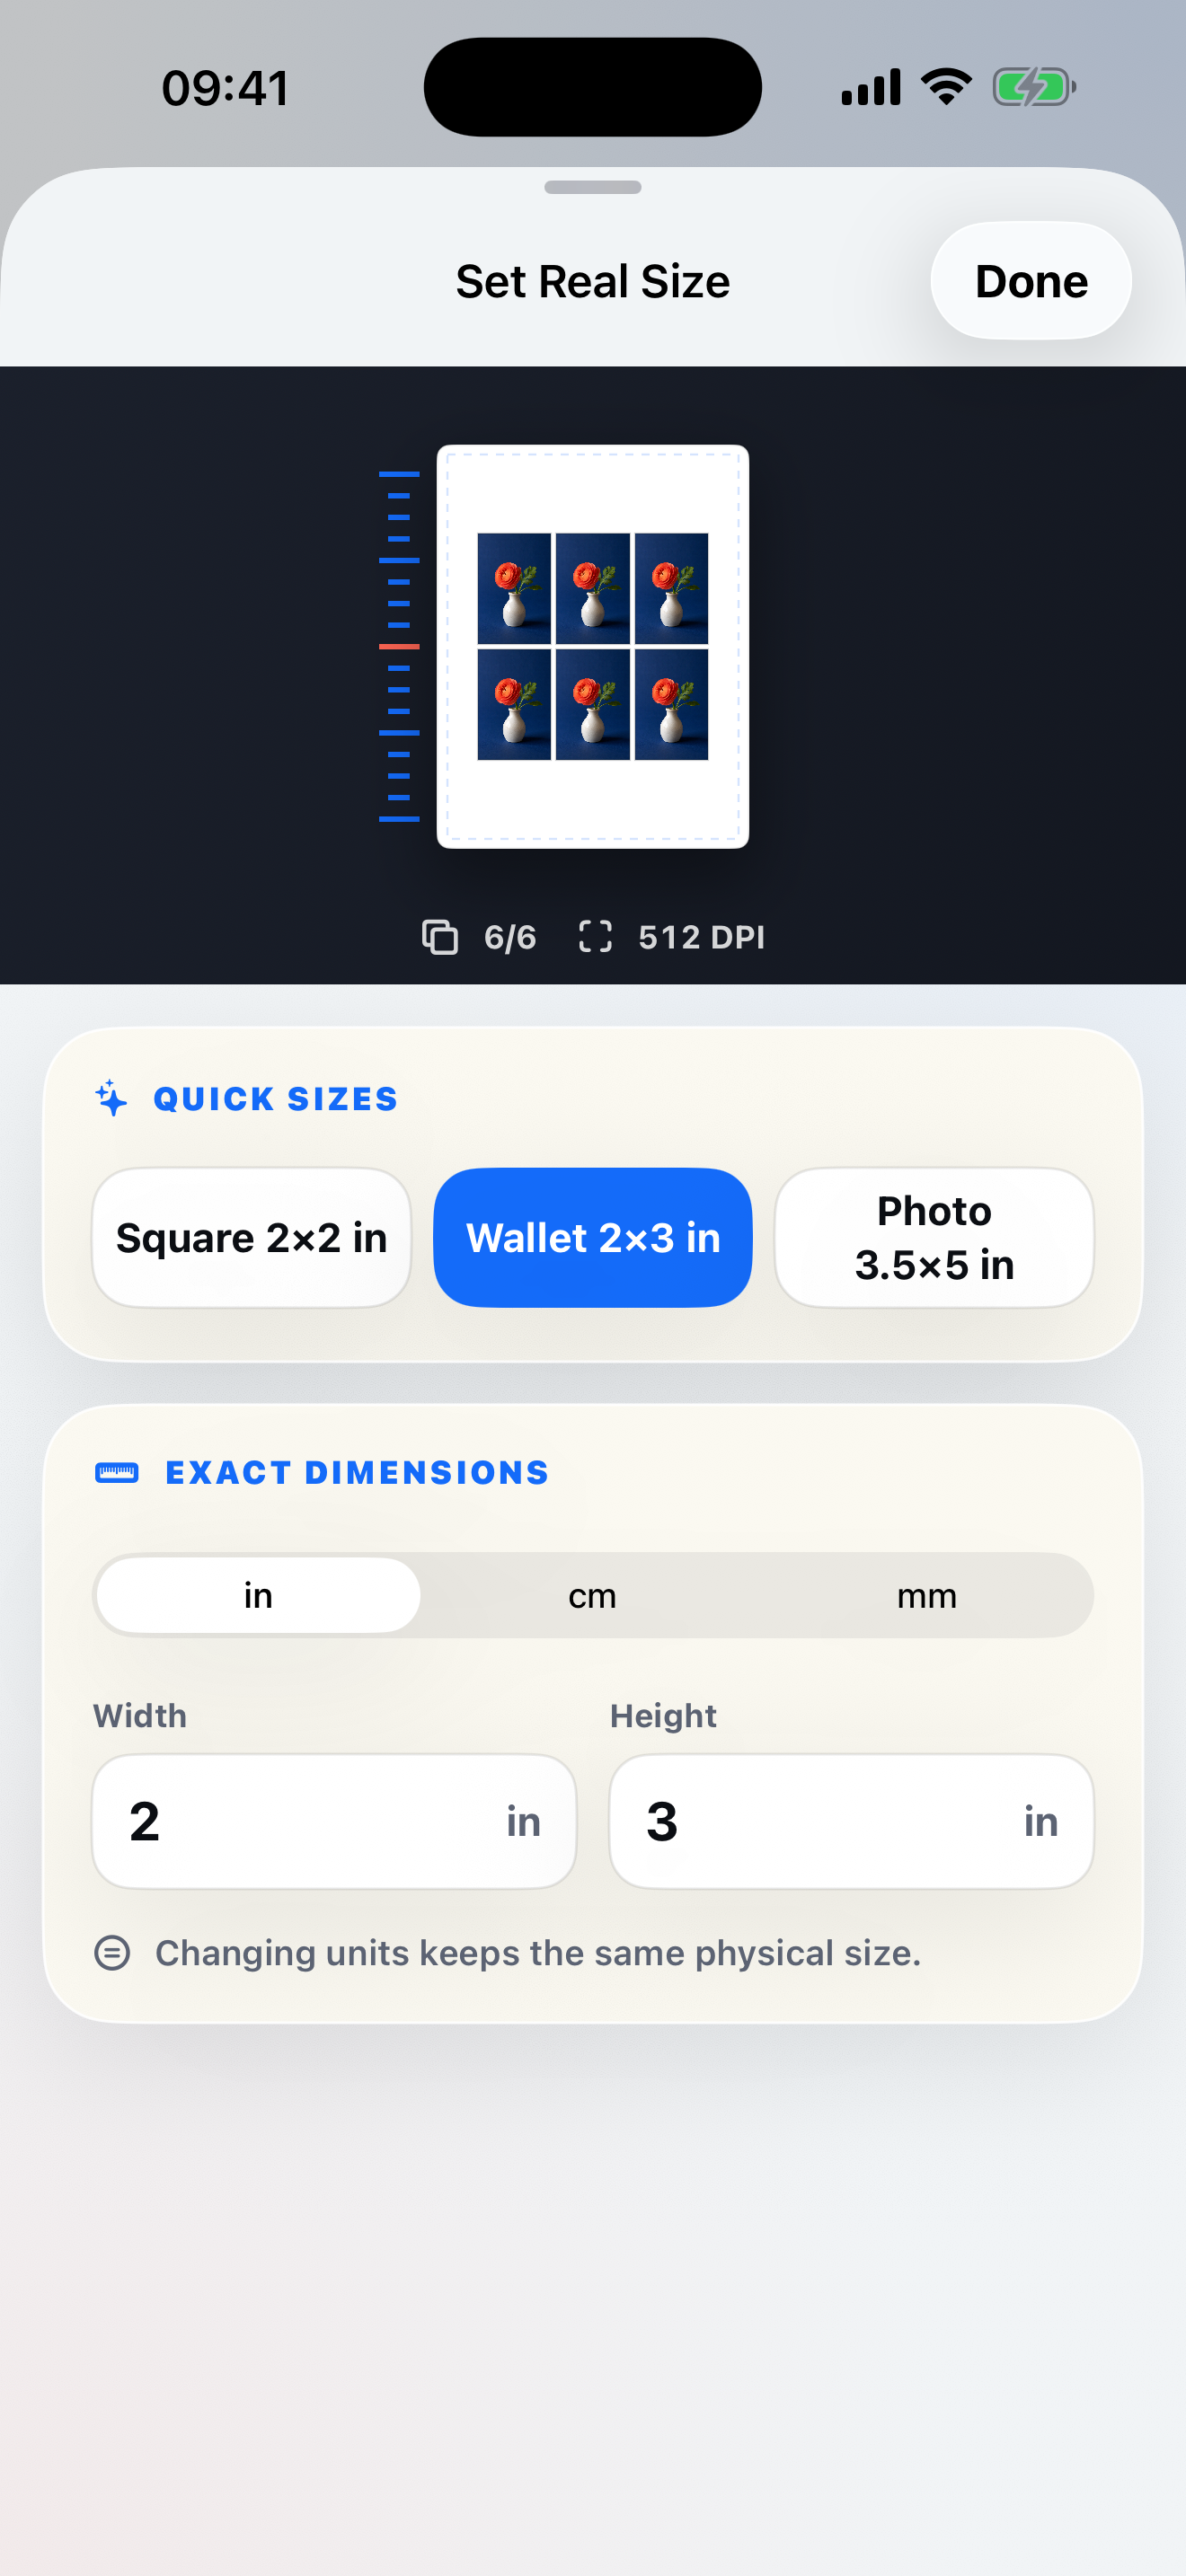
Open one photo in Exact Print Sheet and enter its width and height in cm, mm, or inches. For example, use 5 × 7 cm for an insert, or 2 × 3 in for a small craft reference.
Choose A4, Letter, 4 × 6, or square paper. The page preview shows the copies that fit with your margins and spacing.
2. Check the crop and clarity.
Fit keeps the whole photo within the chosen frame. Fill covers the frame and can crop the edges. Check the preview before exporting.
The source-image DPI indicator helps you see how much image detail is available at the chosen size. Making the physical size smaller uses more pixels per inch; exporting a PDF cannot restore detail missing from the source.
3. Export the sheet as a PDF.
Review the copy count and layout, then export your PDF. The PDF is the file to share with your preferred printing app, print shop, or desktop printer.
4. Print at 100% or Actual Size.
Turn off Fit to Page, Shrink to Fit, and other automatic scaling options. Match the printer paper to the paper size used for the PDF.
Measure the first printed copy before printing a whole batch. Printer margins and driver settings can affect the physical result; the app cannot control those settings.
If the result is still wrong
Wrong size: check scaling in the PDF viewer and the printer driver. Missing edges: check the image placement mode and the printer's printable area. Soft image: use a higher-resolution source or choose a smaller physical size.
Get help with your sheet →Start with your photo.
Choose the dimensions and see your sheet before export.
View on the App Store